
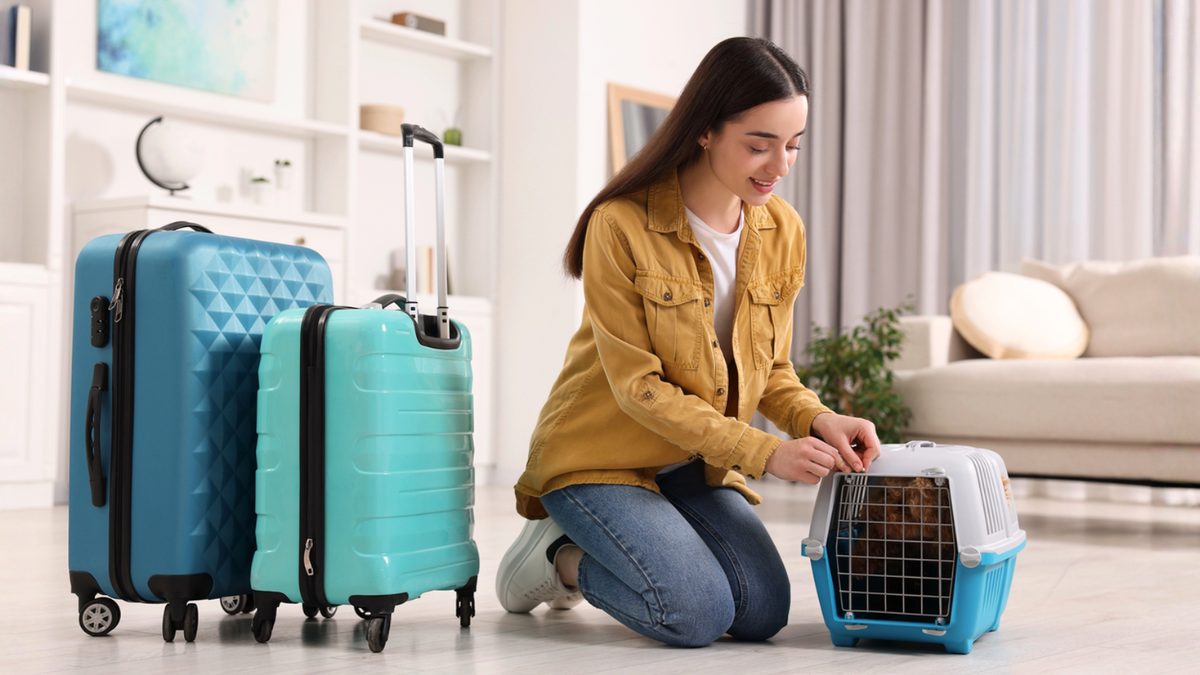
Moving with a pet requires managing your own chaos while keeping an anxious cat or restless dog from slipping out an open front door. A dog pacing every corner while movers prop the entrance open and a cat wedged silently behind a tower of boxes are real scenarios rather than worst-case assumptions.
Moving with an animal becomes manageable when you execute the right steps in the proper order. The seven strategies below cover everything from lease reviews to your first week settled in, and they work whether you are relocating across town or across the country.
1. Confirm Lease and Pet Rules
Review the pet addendum fully before signing a lease. Navigating a relocation creates logistical hurdles, and 14% of intakes to animal shelters stem from housing issues.
Another review of 2,836 records found that the most frequently cited reasons for relinquishment were Behavior Issues (28 %), Housing/Moving (18 %), Unable to Care (16 %), Too Many Pets (10 %), Financial (6 %), and Owner Allergies (5%). You can prevent these outcomes by verifying species exclusions upfront.
While many owners consider animals family, nearly 90% of landlords do not allow pets or impose restrictions on weight, breed, number, or type. Ask directly if the pet deposit is refundable or a flat fee. Clarify rules for shared spaces including elevators and lobbies. Verbal approval carries no legal weight, so get every permission confirmed in writing.
2. Set Up a Quiet Transition Room
Before unpacking begins, designate a bathroom or bedroom as a dedicated safe room for your animal. Stock it with familiar bedding, food, and a worn piece of your clothing for scent comfort. Keep your pet inside this room while movers are active, because open doors create serious escape risks.
Once the chaos concludes, introduce your pet to each additional room gradually over two days. This mirrors the introduction technique animal shelters use when pets arrive in new environments. Moving slowly reduces stress behaviors like hiding and destructive scratching. Exploring one space at a time builds confidence quickly.
| Key Insight: Introducing a pet one room at a time mirrors shelter acclimation methods and measurably reduces stress, hiding, and destructive behaviors during the critical first two days. |
3. Protect Floors and Walls Without Permanent Changes
Removable solutions protect the security deposit without altering the physical walls. Use peel-and-stick carpet tiles over hard floors and place clear furniture corner guards on baseboards. Removable adhesive hooks work perfectly for hanging leashes and daily gear. None of these additions leave permanent marks.
Place waterproof rug pads under litter box areas to prevent subfloor staining. Photograph every protective item before the pet enters to secure a timestamped record showing the pre-pet condition.
4. Select Washable, Repairable Furniture
Rental living involves smaller square footage and concentrated furniture wear. Look for machine-washable fabric covers that unzip directly into the laundry, along with modular frames where a damaged section can be swapped out. Hidden storage provides a measurable advantage by eliminating extra bins.
Avoid items requiring wall mounting, since physical modifications often cost renters their security deposit. Modular pieces reconfigure to fit your next apartment layout easily. For owners evaluating durable seating, Home Reserve’s repairable modular couch provides practical longevity. Washable covers and individually replaceable parts dictate that a claw mark only affects one specific panel.
5. Compare Cat Insurance Terms Before the Move
Moving frequently requires finding a new veterinarian. The gap between your move date and that first local appointment creates a distinct window of financial vulnerability.
Compare policies based on the annual deductible amount, the reimbursement rate, and the mandatory waiting periods. Reading the pre-existing condition exclusions remains vital, because prior conditions are universally excluded.
Optional preventive care add-ons help budget predictably for routine visits in regions with unfamiliar veterinary costs. Certain policies grant up to 270 days from the treatment date to submit claims.
For those seeking adaptable policies with reimbursement up to 90% on eligible bills, Spot Pet Insurance’s cat insurance for renters serves as a comprehensive option. Always review the full policy documents and exclusions before finalizing enrollment.
6. Update Identification and Local-Vet Records
Update the microchip registry with your new address before move-in day. This single step serves as the primary safeguard if a pet escapes. Replace physical ID tags before loading the first box. You should also request digital copies of medical records from your current veterinarian, as paper folders easily vanish.
Research emergency veterinary clinics within 15 minutes of the new address before spending your first night there. Register with a local clinic within the first two weeks. Some insurance plans require a recent wellness exam to maintain coverage eligibility.
7. Perform a Landlord-Approved Move-In Condition Check
Walk through the unit with the property manager before any pet enters. Document all pre-existing damage with timestamped photos and video footage. Look specifically for scratches on door frames, carpet stains, and scuffed baseboards. Use a written move-in condition checklist and ensure both parties sign it.
Email the completed checklist and image files to the landlord immediately after the walkthrough. This digital timestamp creates a verifiable paper trail that protects the renter from unjustified repair deductions.
| Important: Failing to document pre‑existing scratches, stains, and scuffs can cost you your entire deposit. Walk through with the landlord, take timestamped photos, and get a signed checklist before your pet enters. |
A First-Week Settling Checklist
Use this reference during the first seven days to maintain routine. Pre-move preparation handles the major logistical risks, but the initial week requires strict consistency.
- Unpack the pet’s bed, bowls, and litter box first.
- Keep feeding and walk schedules identical to the pre-move routine.
- Introduce one room at a time.
- Schedule a new veterinary appointment quickly.
- Confirm your microchip registration reflects the new address.
- Verify your pet insurance covers the new location.
- Photograph the settled home for your leasing records.
If you selected washable modular furniture, those inevitable first-week spills are neutralized. If you secured a dedicated pet insurance policy, you know exactly what is covered if a veterinary visit escalates.
About the Author

Ryan Nelson
I’m an investor, real estate developer, and property manager with hands-on experience in all types of real estate from single family homes up to hundreds of thousands of square feet of commercial real estate. RentalRealEstate is my mission to create the ultimate real estate investor platform for expert resources, reviews and tools. Learn more about my story.